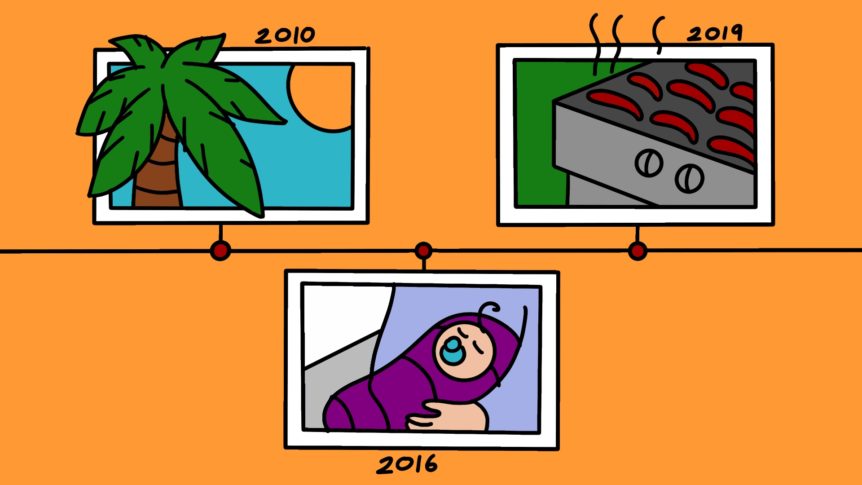
From marriages to Christmas mornings, from summer road trips to quinceaneras, your family traditions span decades. Connect the dots in a beautiful new way and share them with your loved ones. We promise they’ll thank you for it.
Ron V. created this timeline to honor his 36 year marriage to his late wife Susie. Now Ron and their children can relive nearly 4 decades of their life together.
Explore Ron’s touching tribute yourself. Then create your own captivating, interactive timelines to capture all those big and small moments in life. When you’re done, share them with all the people who made them special.
Creating a timeline is as easy as 1-2-3.
All you have to do to get started is click the “create a new timeline” button at the top of any timeline, including Ron’s above. Once you’re logged in to your Permanent Archive, we’ll walk you through 3 simple steps to add your memories and generate your timeline.
Let’s say you want to create a timeline for your most recent family vacation to Costa Rica. First, you’ll create your Costa Rica folder. Give it a custom name and add a description so your loved ones never forget all the little details that made it so special.
Once your folder is created, it’s time to upload your memories. Your timeline can include any type of file that tells your story – from pictures of sloths in palm trees to videos of jungle waterfalls to audio clips of howler monkeys.
When your files have finished uploading, a shareable link will be created for you. And voila, your timeline is ready to be shared with anyone!
That’s all there is to it because timelines are automatically generated from any dates that are saved in your files. Your smartphone or camera will typically record a date when a photo or video is taken. That makes them easy and quick to create with any folder of memories that you preserve on Permanent.
Now all those beach days can be relived whenever your family needs some extra sunshine. And then they can use the button at the top of your timeline to create their own.
Share your timeline with the people you love.
Now that you’ve preserved your favorite family memories on a beautiful timeline, make it available for all your loved ones to explore with one link.
In your Public section, select the folder you made into a timeline. In the example above, it was your Costa Rica folder. Then click the “Get Link” action at the top of the screen to copy your publicly shareable link and send it off in a text, email or social media post to your whole family.
No need for your loved ones to log in or create an account. Enjoying the beautiful, interactive timeline you made for them is just one click away.
Right now, timeline is exclusively a public feature. But that doesn’t mean you lose control. Learn more about sharing publicly accessible links here.
Not quite how you remember it?
We might not have the right date for the files you added to your timeline. This can happen for any number of reasons. For example, your camera is set to the wrong year or you downloaded the file from a social media site that stripped the date out.
No matter the cause, there is an easy solution. If the date we have for your file isn’t the date you want to use on your timeline, you can easily update that information in the info section of your file details.
Let’s keep working on your Costa Rica folder. Once inside, select the file you want to update with a single click and the file details will appear on the right side of your screen. Here you can edit the date and add any details you want to include – such as a file name, description and even the location it was taken in.
Rename all the pictures of the animals you saw to identify them, add a description to that video of mom and dad parasailing so your extended family knows how you talked them into it, and add the location to that incredible beach panorama.
The more you add to your files, the more rich your timeline becomes. Family vacations, childhood photos and summer barbecues come back to life when you include all the stories and details that made those moments special.
Create a new timeline with the flip of a switch.
Want to create a timeline for last year’s Christmas photos but you already uploaded them in My Files? Don’t worry, you can make a timeline for anything that’s already preserved in your Permanent Archive in two easy steps.
First, publish the folder you will be making into a timeline. This blog post will tell you everything you need to know about publishing.
Next, head to your Public section and select the folder you just published. In the folder details on the right side of your screen, scroll down until you see the “Folder View” option and change it to “Timeline”.
And that’s it! Now your Christmas memories will be displayed on a timeline for your whole family to relive at a glance.


I’d love to use this feature, but there is no option anywhere to create a new timeline when viewing Ron’s timeline linked above. See attached screenshot.
Hi Steven! Thanks so much for bringing this to our attention. This blog post includes some outdated information, as we’ve updated our web application. You can find an updated video on how to create a timeline here.